oreohive labs research log
Setting up your new SSD for use in Windows
2025-03-02T17:28:00+0000
logged by:
oreo
How to set up your new SSD for use in Windows, if it doesn't appear right away in File Explorer.
Introduction
So, congrats! Your new SSD just came in the post.
If you’ve gone and picked up something fancy like the dinky Crucial X6 Portable SSD, you’ll have no problems simply plugging in the SSD to see it ready to go in File Explorer, automatically assigned a drive letter and almost immediately ready for use!
If you’ve grabbed a more conventional SSD, though - perhaps a more standard one designed with internal use in mind - you may need to perform a few more steps before you can get to storing your files and data.
That’s okay! I’ll walk you through them here. :) It’s easier than it might look, promise.
Connecting your SSD to your computer
Now, depending on your type of SSD, this step might be a little different.
2.5 inch SSDs are mounted into bays, caddies or positions on your case

If you have an SSD that looks like a small, rectangular block, it might be a 2.5 inch SSD.
These SSDs are designed to fit into the same mounting spots as the 2.5 inch mechanical drives that came before them.

Image attribution: TechPowerUp
They’re shaped and sized a bit like a tiny notebook you might hold in one hand. They can be about as thick as a chocolate bar.
M.2 SSDs are inserted directly into your system’s motherboard
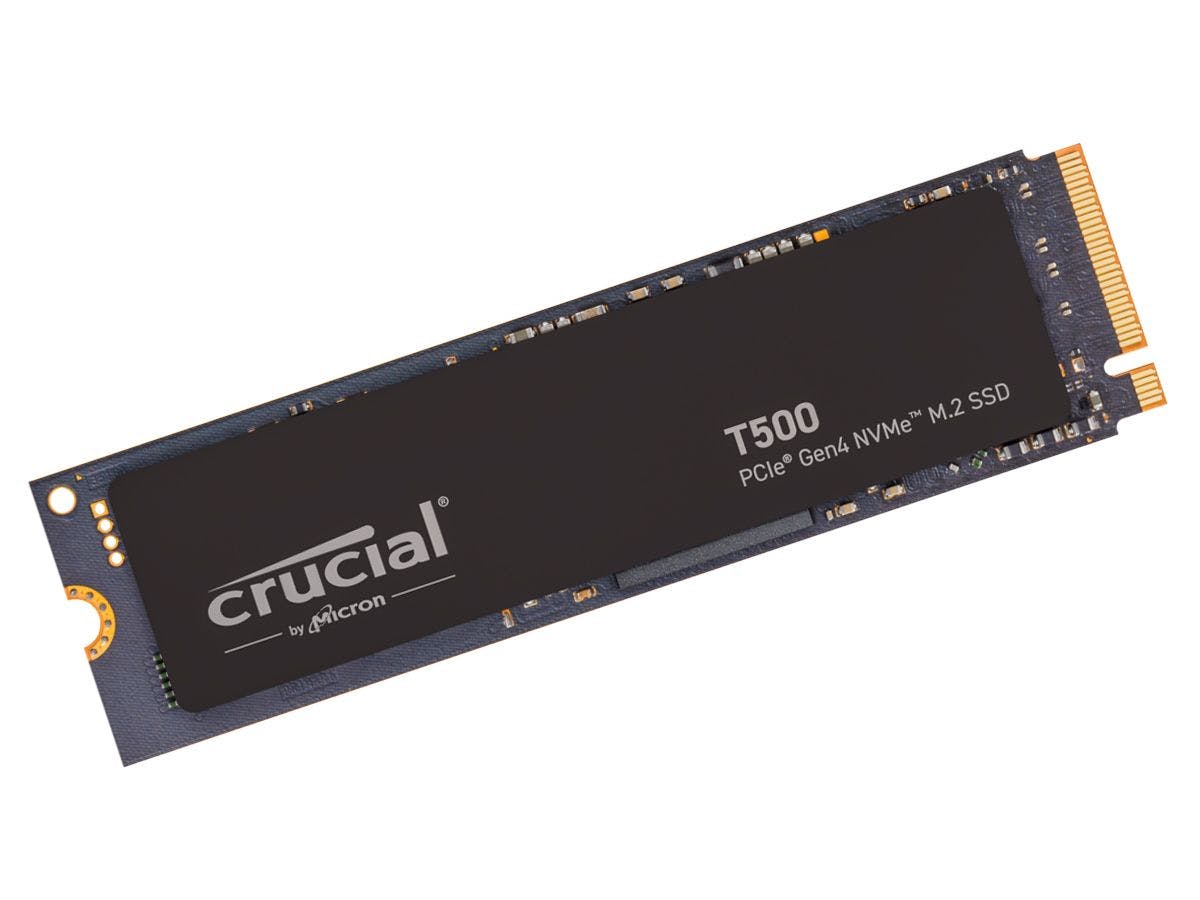
Image attribution: ndc.co.uk
If you have an SSD that’s a lot slimmer, perhaps a lot sexier and longer in proportions, it might be an M.2 SSD instead.
These SSDs are designed to fit into M.2 slots directly on your motherboard, so rather than needing to be hooked up with separate cables, they can be attached directly into your motherboard’s M.2 slot, where the copper contacts are, for ease and neatness.

Image attribution: PCMag
An M.2 drive is a tiny, sleek stick that fits into a special slot on your computer’s motherboard.
They might remind you of a stick of gum. They’re much slimmer than 2.5 inch SSDs, being possibly about as thin as a credit card.
‘Initialising’ your SSD for use in Windows
In this guide, we’re going to perform the steps necessary in Windows to be able to see and interact with the drive as we’d expect.
Right now, your drive might lack a filesystem; this is the part that tells your system how exactly to store your files and data.
Remember, your files and data are just ones and zeroes; a filesystem is basically a set of rules about how those ones and zeroes should be interpreted, so we can actually make sense of them.
Your drive may or may not already contain a filesystem
Manufacturers and SSD brands can sometimes avoid setting up a filesystem for you.
Instead, they can sometimes prefer to leave you to set up a filesystem by yourself, just in case you’re trying to use your new drive with a special system where a different filesystem makes more sense.
- If your drive is something like the Crucial X6 Portable SSD I brought up before, where it has its own enclosure that doesn’t really fit or mount into anything, it probably has its own filesystem pre-installed and ready to go for you.
- Typically, these drives advertised as ‘portable’ or something like ‘ready-to-go’ can come withtheir own filesystems, so less technical people don’t need to set them up for themselves. - If your drive is more ‘standard’, though - if it doesn’t come baked within any kind of enclosure of its own, instead appearing to be designed to mount into something else - it might not have a filesystem on it already.
- These are drives that someone would typically install their operating system (e.g. Windows) onto; in this case, the company preloading a file system wouldn’t make sense, since the drive would be wiped clean anyway, so they leave you to install your own.
Checking if your drive already has a filesystem
There’s a really simple way we can test if your drive has come with a filesystem on it that’s suitable for your system.
Connect your drive
- If it’s an external drive that you plug in outside of your computer, just plug it in.
- If it’s an internal drive that you have to install inside your computer, go ahead and install it now if you haven’t already. Only open up your computer or install your drive with the computer turned off and disconnected from wall power. Then, once you’re done and it’s sealed back up, you can turn it on again.
- If your drive automagically appears in File Explorer, ready to store files in
Your drive is ready!
In Windows, if your drive immediately appears with a drive letter, and you seem to be able to copy files into it, congratulations! Your drive already has a filesystem you can use!
It has likely come with some files already in there, then; sometimes, drives can come with documentation or software installers on them.
You don’t usually need these bits of software. Since they can be quite bloated, clunky and ugly, I tend not to bother installing them. However, it might be worth moving any documentation (like .pdf files) off of the drive and to somewhere safe for reference and preservation.
You don’t need to follow the rest of this guide! Enjoy your new drive!
- If your drive doesn’t automatically appear in File Explorer
There’s a bit more for us to do.
If your drive doesn’t automatically appear in Windows and isn’t automatically assigned a drive letter, it may not have a filesystem just yet. That’s okay! We can install one.
To do this, we’ll use Windows’ Disk Management application. You probably already have it!
So, here are the steps we’re going to do today:
- Opening up Disk Management to check for disks without filesystems
- Initialising our new disk with a partition table
- Selecting our disk’s unallocated space in Disk Management
- Starting the setup process to create a new volume on our drive
- Specifying the size we want our new volume to be
- Specifying the drive letter we want Windows to use for our new volume
- Choosing options for the filesystem we want putting inside the volume
- Verifying that we’re making a new volume on the right drive (our new drive), then hitting Finish to start the creation process
1
Opening Disk Management
Open Start by hitting the Windows / Start / Super key ⊞ on your keyboard.
Your Start menu should then open, ready for you to use its search bar:

In its search bar, type ‘disk man’.
The Disk Management tool should then appear, looking something like this:

Hit Enter to open Disk Management.
2
Initialising your new disk
Now, if a drive is connected without a filesystem, Disk Management calls it ‘uninitialised’. This is basically Disk Management going “Hey, there’s a new drive here without a volume on it! What should I do with it?’”
If your drive’s connected properly and it doesn’t have a filesystem on it already, Disk Management should pop up with this ‘Initialise Disk’ window:

If it doesn’t, don’t worry! Your drive just might not be corrected properly, or it may have a filesystem on it already after all.
3
Finding your disk in Disk Management
Once you’ve got to this window, you might notice a few things;
- Your ‘disk number’ might be different to mine; my disk is appearing as Disk 6, but if yours is something else, it doesn’t matter and is normal.
- You have two options for the ‘partition style’; MBR and GPT.
- In most cases, you’ll want GPT selected; it’s the newer one. Use GPT if you’re unsure or don’t know the difference. GPT is what Windows drives use by default these days, and have done for decades now.
- You should only ever need MBR if you’re trying to use your drive with a really, REALLY old operating system.
Once you’ve made sure this is selected, you can hit ‘OK’.
You should then see your drive to the bottom of Disk Management. It should look something like this, with a black ‘Unallocated’ segment going all the way across:

The capacity here should roughly match the capacity of your drive. For example, my drive is 240GB, but here it says 223.56GB. This is fine.
Your drive now has a partition table on it. We’ve not got a filesystem on it quite yet, but we’re getting close!
4
Starting the setup process for a ‘New Simple Volume’
Left-click on this ‘Unallocated’ segment, to make sure it’s selected.
Then, right-click on it, and you should see this menu appear:

Select New Simple Volume. Then, this ‘New Simple Volume Wizard’ should appear:

This will help us make a New Simple Volume, by the way.
A volume is kind of like a container for a filesystem; it’s where the filesystem’s structure and data are stored.
Hit Next >.
5
Specifying the size of our new volume
Then, you should see this screen:

This is basically asking you how big you want your volume to be on the drive.
To maximise your drive’s capacity, you should make this as big as possible.
It should be at its maximum setting by default; make sure the size matches the ‘Maximum disk space in MB’ number, as shown. While my drive’s maximum is 228919, yours will probably be bigger or smaller.
6
Specifying the drive letter we want Windows to assign our new volume
Next, you’ll be asked if you want to assign a drive letter to your drive.

You can pick something not already in use.
By default, your Windows drive adopts the letter C:, so you can pick something like D:, E:, anything sensible that hasn’t already been taken by another drive.
Disk Management shouldn’t let you pick any letters that are already in use.
If you see a warning like this:

it means that you’ve used this letter before for something else. It’s asking you if you’re okay with this drive taking the other drive’s place by taking its letter, even though it has been reserved in the past.
7
Telling Disk Management what kind of filesystem we want to put in our volume
Then, you should see this screen:
This is the part where we finally get to form our filesystem!
There are lots of different types of filesystems, but Disk Management seems to only let me pick between NTFS and exFAT.
NTFS was designed by Microsoft specifically for Windows, whereas exFAT was designed by Microsoft a bit later on, optimised specifically for flash memory like USB flash drives and SD cards.
Generally, NTFS is what you want; it’s definitely the safer of the two.
exFAT is incredibly notorious for data corruption and unreliability, since it lacks some key data protection features like journaling, redundant file tables. The lack of journaling means that if any interruption happens during data transfer, corruptions or mix-ups can be much more likely.
NTFS, by contrast, has these kinds of protections in place, so you should probably pick it over exFAT. It tends to be a much more robust filesystem, at least in my experience and to my knowledge. :’)
You can usually leave the Allocation unit size at Default, and for your Volume label, you can pick something really original and cool:

You can leave Perform a quick format enabled, unless you’re doing this before selling the drive, disposing of the drive or giving it to a friend. For new drives, a quick format is absolutely fine.
You can leave Enable file and folder compression disabled.
8
Confirming that we want Disk Management to create our new filesystem, once we’ve made sure we’re doing this on the right drive
Lastly, you’ll be presented with this screen!:

This means you’re done configuring your filesystem, and Disk Management is ready to create it!
Once you hit Finish, there’s no turning back. Now’s a good time to make sure that you have the right drive selected, that its capacity matches what you’d expect from the drive, and that the drive doesn’t have any files left on it.
Anything (any data) left on the drive at this point WILL, for these intents and purposes, BE DESTROYED. Please proceed with caution, and keep your backups just in case!
Once you hit Finish, bingo! Your drive should now appear in File Explorer and be ready for use!
If you found this guide helpful in getting you all set up, feel free to buy me a coffee at https://ko-fi.com/oreohive to keep these simple, free, streamlined and standardised guides viable for us!
Still stuck? Reach out to me on our socials!